

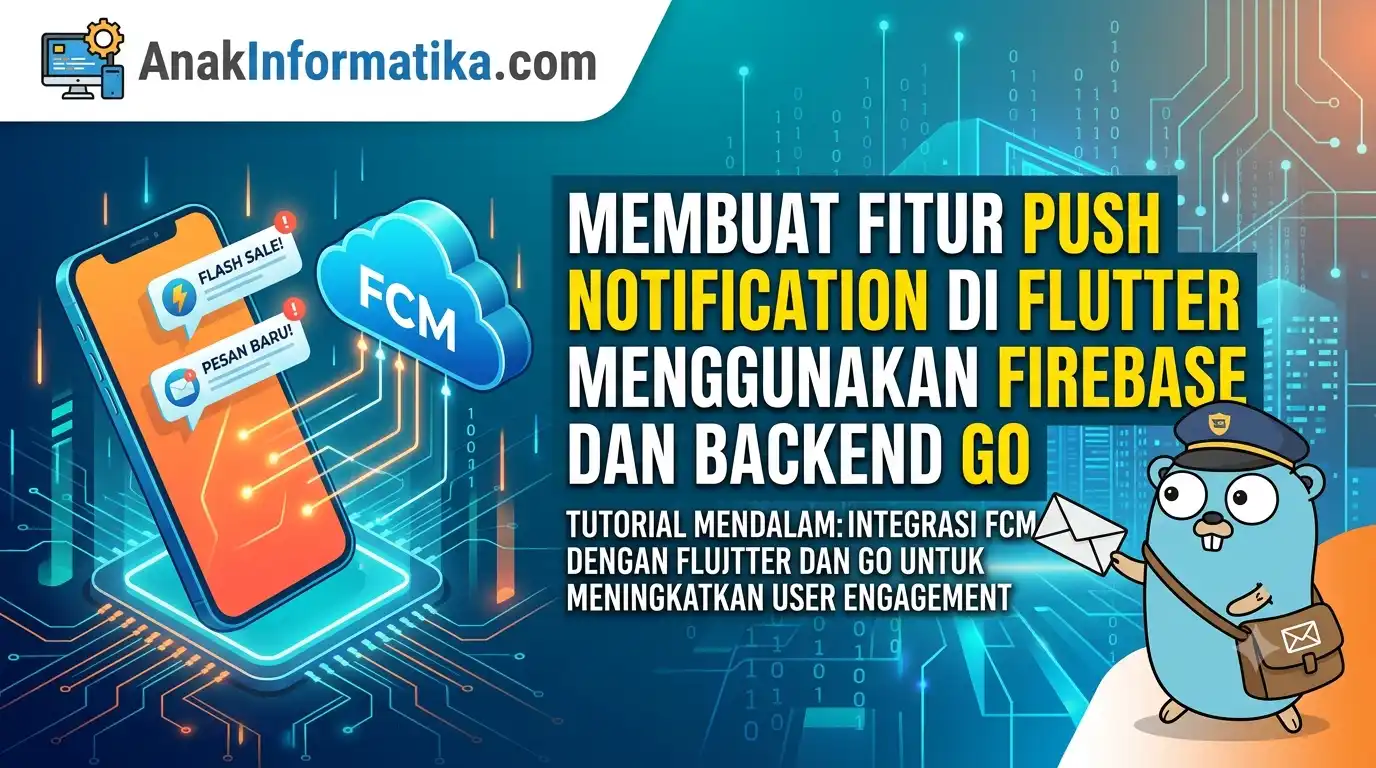
Hello AnakInformatika! Ever wondered how your favorite apps can suddenly send notifications like "Flash Sale Discount!" or "New message!" even when the app isn't open? Well, that's all thanks to a magical feature called Push Notification. This feature is crucial for maintaining user engagement and ensuring important information reaches users on time.
In this deep-dive tutorial, we will thoroughly break down how to Build Push Notifications in Flutter Using Firebase and Go Backend. Why this specific stack? Flutter is the champion for beautiful, cross-platform UI/UX; Firebase (specifically Firebase Cloud Messaging or FCM) is the most reliable "postal courier" for delivering notifications; and Go is a super-efficient, blazing-fast backend choice to trigger those notifications. Perfect combination, right?
Think of it this way: your Flutter app is a house, and the notification is an important letter. Firebase Cloud Messaging (FCM) is the post office holding the address directory for all houses (devices). Meanwhile, our Go backend is the "assistant" who writes the letter (notification payload) and hands it over to the post office (FCM) to be delivered to the correct house. Pretty neat, right?
💡 Tip: Push notifications aren't just for promotions! You can also use them for transaction alerts, new chats, status updates, or important reminders that significantly improve the user experience.
Prerequisites: What Do You Need?
Before jumping into the code, make sure you have the following gear ready:
-
Flutter SDK: Ensure it is installed and on the latest stable version.
-
Go: Version 1.18 or newer installed on your system.
-
Google Account & Firebase Project: Set up a new Firebase project or use an existing one.
-
IDE: Visual Studio Code (VS Code) is highly recommended for both Flutter and Go.
-
Basic Understanding of Flutter & Go: Familiarity with the basic syntax and concepts of both platforms.
-
Emulator or Physical Device: For testing notifications on Android or iOS.
Step-by-Step Implementation
Grab your coffee and let's begin our coding journey!
1. Firebase & Flutter Setup
The first step is building the foundation on Firebase and connecting it to our Flutter application.
1.1. Create a New Firebase Project
-
Open the Firebase Console.
-
Click "Add project".
-
Follow the steps to create a new project. Name it something recognizable, such as
AnakInformatikaPush.
1.2. Add Flutter App to Firebase Project
You need to register both Android and iOS apps inside your Firebase project so Firebase can identify the devices.
For Android:
-
In your project overview, click the Android icon.
-
Enter your Flutter app's package name (found in
android/app/src/main/AndroidManifest.xmlunder thepackageattribute). Example:com.anakinformatika.pushnotification. -
Register the app.
-
Download the
google-services.jsonfile and place it in theandroid/app/directory. -
Add the Firebase configuration to your
android/build.gradleandandroid/app/build.gradlefiles as instructed by Firebase.
For iOS:
-
Click the iOS icon in the project overview.
-
Enter your Bundle ID (visible in Xcode under General > Identity).
-
Register the app.
-
Download
GoogleService-Info.plistand place it insideios/Runner/via Xcode. Ensure it is added to the app target. -
Enable Push Notifications and Background Modes (Remote notifications) in Xcode under "Signing & Capabilities".
⚠️ Important Note: Ensure you have activated the Cloud Messaging API (Legacy) or set up proper service account credentials in Google Cloud Console. In the Firebase Console, navigate to Project Settings > Cloud Messaging to retrieve your Server Key (Legacy). Store this key securely!
2. Configuring Flutter to Receive Notifications
Now, let's prepare our Flutter app to receive and process incoming notifications.
2.1. Add Dependencies
Open pubspec.yaml in your Flutter project and add the following dependencies:
dependencies:
  flutter:
    sdk: flutter
  firebase_core: ^2.24.2
  firebase_messaging: ^14.7.12
Run flutter pub get in your terminal.
2.2. Initialize Firebase and Handle Notifications
Open main.dart and add the initialization logic along with handlers for different notification states:
import 'package:flutter/material.dart';
import 'package:firebase_core/firebase_core.dart';
import 'package:firebase_messaging/firebase_messaging.dart';

// Top-level function to handle background/terminated messages
Future<void> _firebaseMessagingBackgroundHandler(RemoteMessage message) async {
  await Firebase.initializeApp();
  print("Handling a background message: ${message.messageId}");
  // You can also perform local database storage here if needed
}

void main() async {
  WidgetsFlutterBinding.ensureInitialized();
  await Firebase.initializeApp();

  // Register background message handler
  FirebaseMessaging.onBackgroundMessage(_firebaseMessagingBackgroundHandler);

  runApp(const MyApp());
}

class MyApp extends StatelessWidget {
  const MyApp({super.key});

  @override
  Widget build(BuildContext context) {
    return MaterialApp(
      title: 'Flutter Push Notification',
      theme: ThemeData(
        primarySwatch: Colors.blue,
      ),
      home: const MyHomePage(),
    );
  }
}

class MyHomePage extends StatefulWidget {
  const MyHomePage({super.key});

  @override
  State<MyHomePage> createState() => _MyHomePageState();
}

class _MyHomePageState extends State<MyHomePage> {
  String? _token;
  String _message = 'No notifications yet';

  @override
  void initState() {
    super.initState();
    _initFirebaseMessaging();
  }

  Future<void> _initFirebaseMessaging() async {
    FirebaseMessaging messaging = FirebaseMessaging.instance;

    // 1. Request Permission (Required for iOS & Web)
    NotificationSettings settings = await messaging.requestPermission(
      alert: true,
      announcement: false,
      badge: true,
      carPlay: false,
      criticalAlert: false,
      provisional: false,
      sound: true,
    );

    print('User granted permission: ${settings.authorizationStatus}');

    // 2. Get Device FCM Token
    String? token = await messaging.getToken();
    setState(() {
      _token = token;
    });
    print("FCM Token: $_token");

    // 3. Listener for Token Refresh
    messaging.onTokenRefresh.listen((newToken) {
      setState(() {
        _token = newToken;
      });
      print("New FCM Token: $newToken");
      // Send this updated token to your backend server!
    }).onError((err) {
      print("Error refreshing token: $err");
    });

    // 4. Handle messages when the app is in Foreground
    FirebaseMessaging.onMessage.listen((RemoteMessage message) {
      print('Got a message whilst in the foreground!');
      print('Message data: ${message.data}');

      if (message.notification != null) {
        print('Message notification: ${message.notification?.title} - ${message.notification?.body}');
        setState(() {
          _message = 'Foreground Notification: ${message.notification?.title ?? ''} - ${message.notification?.body ?? ''}';
        });
      }
    });

    // 5. Handle message when app is opened from Terminated state
    RemoteMessage? initialMessage = await messaging.getInitialMessage();
    if (initialMessage != null) {
      print('App opened from terminated state by notification!');
      setState(() {
        _message = 'Opened from terminated: ${initialMessage.notification?.title ?? ''} - ${initialMessage.notification?.body ?? ''}';
      });
    }

    // 6. Handle message when app is opened from Background state
    FirebaseMessaging.onMessageOpenedApp.listen((RemoteMessage message) {
      print('App opened from background by notification!');
      setState(() {
        _message = 'Opened from background: ${message.notification?.title ?? ''} - ${message.notification?.body ?? ''}';
      });
    });
  }

  @override
  Widget build(BuildContext context) {
    return Scaffold(
      appBar: AppBar(
        title: const Text('Flutter Push Notification'),
      ),
      body: Center(
        child: Padding(
          padding: const EdgeInsets.all(16.0),
          child: Column(
            mainAxisAlignment: MainAxisAlignment.center,
            children: <Widget>[
              const Text(
                'Your FCM Token:',
                style: TextStyle(fontSize: 18, fontWeight: FontWeight.bold),
              ),
              SelectableText(
                _token ?? 'Token unavailable',
                textAlign: TextAlign.center,
                style: const TextStyle(fontSize: 16),
              ),
              const SizedBox(height: 30),
              const Text(
                'Last Notification Status:',
                style: TextStyle(fontSize: 18, fontWeight: FontWeight.bold),
              ),
              Text(
                _message,
                textAlign: TextAlign.center,
                style: const TextStyle(fontSize: 16, color: Colors.green),
              ),
              const SizedBox(height: 20),
              const Text(
                'Copy the FCM Token above to send notifications from your Go backend!',
                textAlign: TextAlign.center,
                style: TextStyle(fontStyle: FontStyle.italic, color: Colors.grey),
              ),
            ],
          ),
        ),
      ),
    );
  }
}
💡 Tip: Make sure you understand the difference between
onMessage(foreground),onBackgroundMessage(background/terminated), andonMessageOpenedApp/getInitialMessage(when the app is launched via notification click). This distinction is key to building a smooth user experience.
3. Building the Go Backend to Send Notifications
Now that Flutter is configured, let's write our Go backend service that acts as the "post office client" triggering messages to FCM.
3.1. Initialize Go Project
Create a folder for your backend project and initialize a Go module:
mkdir go-fcm-backend
cd go-fcm-backend
go mod init go-fcm-backend
3.2. Implement Notification Logic
Create a main.go file with the following HTTP handler implementation:
package main

import (
	"bytes"
	"encoding/json"
	"fmt"
	"io/ioutil"
	"log"
	"net/http"
	"os"
)

// NotificationRequest defines the structure sent from client to our Go backend
type NotificationRequest struct {
	Token string            `json:"token"` // Target device FCM token
	Title string            `json:"title"`
	Body  string            `json:"body"`
	Data  map[string]string `json:"data,omitempty"` // Optional custom data payload
}

func main() {
	// Retrieve Server Key from Environment Variables for security
	// Usage: export FCM_SERVER_KEY="YOUR_FIREBASE_SERVER_KEY_HERE"
	fcmServerKey := os.Getenv("FCM_SERVER_KEY")
	if fcmServerKey == "" {
		log.Fatal("FCM_SERVER_KEY environment variable not set. Please set it.")
	}

	http.HandleFunc("/send-notification", func(w http.ResponseWriter, r *http.Request) {
		if r.Method != http.MethodPost {
			http.Error(w, "Method not allowed", http.StatusMethodNotAllowed)
			return
		}

		var req NotificationRequest
		decoder := json.NewDecoder(r.Body)
		if err := decoder.Decode(&req); err != nil {
			http.Error(w, "Invalid request body", http.StatusBadRequest)
			return
		}

		if req.Token == "" {
			http.Error(w, "FCM Token is required", http.StatusBadRequest)
			return
		}

		// Prepare the payload for FCM Legacy Endpoint
		fcmPayload := map[string]interface{}{
			"to": req.Token,
			"notification": map[string]string{
				"title": req.Title,
				"body":  req.Body,
			},
			"data": req.Data,
		}

		payloadBytes, err := json.Marshal(fcmPayload)
		if err != nil {
			http.Error(w, "Failed to marshal FCM payload", http.StatusInternalServerError)
			return
		}

		// Construct HTTP Request to FCM API
		fcmURL := "https://fcm.googleapis.com/fcm/send"
		httpClient := &http.Client{}
		fcmReq, err := http.NewRequest("POST", fcmURL, bytes.NewBuffer(payloadBytes))
		if err != nil {
			http.Error(w, "Failed to create FCM request", http.StatusInternalServerError)
			return
		}

		// Set required headers
		fcmReq.Header.Set("Content-Type", "application/json")
		fcmReq.Header.Set("Authorization", "key="+fcmServerKey)

		// Send request to FCM
		resp, err := httpClient.Do(fcmReq)
		if err != nil {
			http.Error(w, "Failed to send request to FCM", http.StatusInternalServerError)
			return
		}
		defer resp.Body.Close()

		// Read response from FCM
		body, err := ioutil.ReadAll(resp.Body)
		if err != nil {
			log.Printf("Error reading FCM response: %v", err)
			http.Error(w, "Failed to read FCM response", http.StatusInternalServerError)
			return
		}

		log.Printf("FCM Response Status: %s", resp.Status)
		log.Printf("FCM Response Body: %s", string(body))

		if resp.StatusCode != http.StatusOK {
			http.Error(w, fmt.Sprintf("FCM returned error: %s", string(body)), resp.StatusCode)
			return
		}

		w.WriteHeader(http.StatusOK)
		w.Write([]byte("Notification sent successfully!"))
	})

	port := ":8080"
	log.Printf("Go FCM Backend running on port %s", port)
	log.Fatal(http.ListenAndServe(port, nil))
}
⚠️ Important Note: Never hardcode your Firebase Server Key inside production source code. Always use environment variables or secret managers. For local testing, export the variable in your terminal before running:
export FCM_SERVER_KEY="YOUR_SERVER_KEY_HERE".
3.3. Run the Go Backend
Open your terminal in the go-fcm-backend directory and execute:
# Ensure FCM_SERVER_KEY environment variable is exported
go run main.go
You should see output similar to:
2023/11/27 10:00:00 Go FCM Backend running on port :8080
4. Testing the Push Notification Pipeline
Now let's test our complete end-to-end setup!
-
Run Flutter Application: Start your app on an emulator or physical device.
-
Copy FCM Token: Once booted up, copy the token printed in the logs or rendered on the UI screen.
-
Send Request via cURL or Postman: Make a POST request to your running Go server endpoint.
curl -X POST \
  http://localhost:8080/send-notification \
  -H 'Content-Type: application/json' \
  -d '{
    "token": "PASTE_YOUR_FCM_TOKEN_HERE",
    "title": "Hello from Go Backend!",
    "body": "This is our first push notification via Go!",
    "data": {
      "page": "home",
      "id": "123"
    }
  }'
Expected Results:
-
Foreground: If your app is active on screen, the
onMessagelog fires, updating the UI string. -
Background / Terminated: If the app is minimized or closed, a system notification banner will appear in your device's notification tray.
-
Go Terminal: You will see a successful response payload logged from FCM.
Best Practices & Pro Tips
While the basic implementation works, keep these production-grade practices in mind:
-
Token Database Management: Store device FCM tokens mapped to User IDs in your backend database. Update database records on token refresh (
onTokenRefresh), and prune invalid or unregistered tokens (NotRegisterederrors). -
notificationvsdataPayloads:-
notification: Triggers system UI banners directly when the app is in background/terminated states. -
data: Sends custom key-value pairs directly to application logic, useful for silent pushes, background data syncs, or custom navigation routing.
-
-
Android Notification Channels: For Android 8.0 (API 26) and above, push notifications must belong to a channel. Integrate packages like
flutter_local_notificationsfor granular local management. -
API Security: Secure your backend
/send-notificationendpoint with authentication/authorization layers so unauthorized third parties cannot trigger system notifications.
Conclusion
Congratulations! You have successfully built a push notification workflow using Flutter, Firebase Cloud Messaging, and Go. Your app is now equipped with instant communication capabilities to boost user retention and deliver timely updates.