

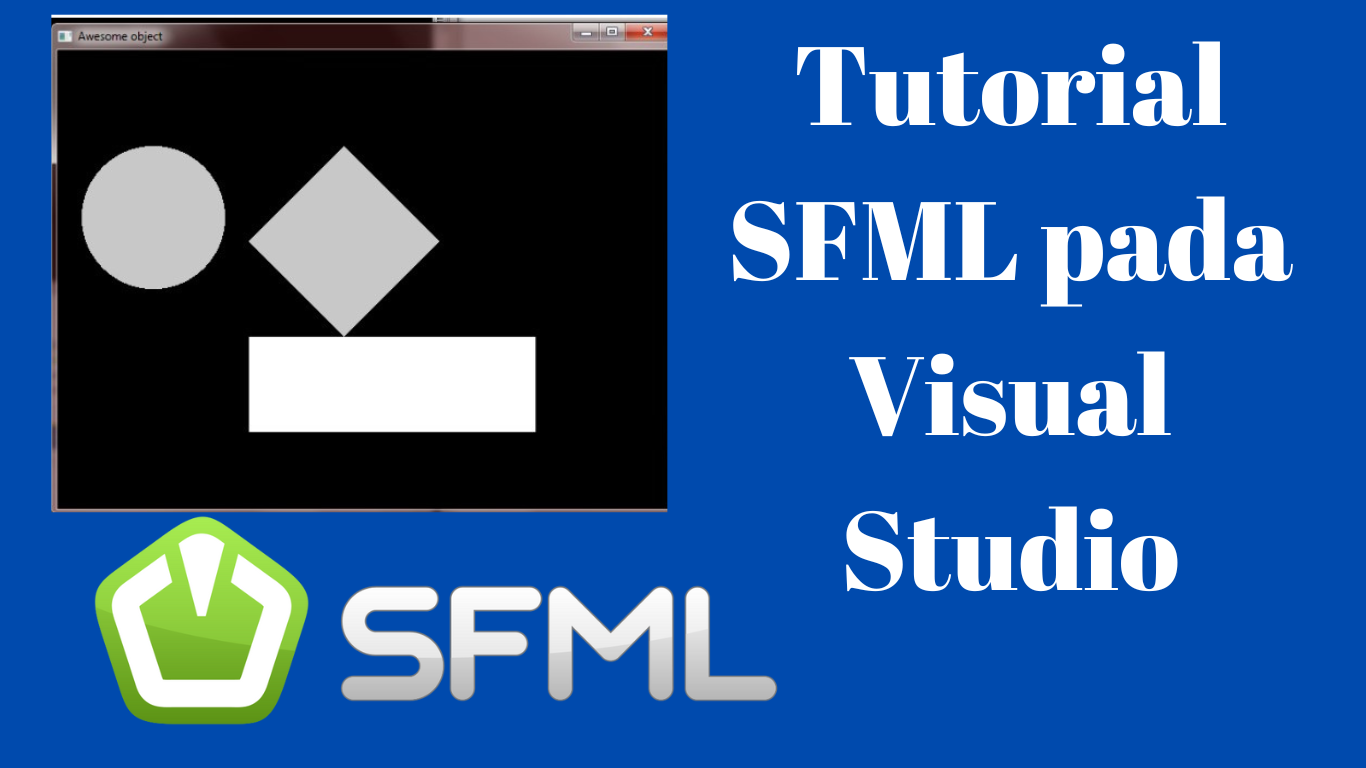
SFML (Simple and Fast Multimedia Library) is a popular C++ library designed to provide a simple interface to various multimedia components such as 2D graphics, audio, network, and window management.
If you are just starting your journey into C++ graphics programming, configuring SFML in Visual Studio can sometimes feel a bit daunting. This step-by-step guide will walk you through the entire process—from directory organization and Visual Studio configuration to asset handling and running your first graphical application!
1. Prerequisites & Folder Structure Setup
Accurate file paths are crucial when working with external libraries. To keep your project workspace organized, set up your directories as follows:
-
Download SFML: Grab the SFML package from the official SFML Download Page.
-
Create the Main Directory: Create a working directory on your system, for example:
D:/R01TI/123456/SFML/ -
Extract the External Library: Inside the main directory, create a folder named
External Libraries/SFML, then extract the downloaded SFML contents into it.
Your final directory structure should look like this:
D:/R01TI/123456/SFML/
└── External Libraries/
    └── SFML/
        ├── bin/
        ├── include/
        └── lib/
2. Creating and Configuring the Visual Studio Project
Once the directories are prepared, the next step is linking SFML with Microsoft Visual Studio.
Step A: Create a New Project
-
Open Microsoft Visual Studio.
-
Select New Project > Visual C++ > Win32 Console Application.
-
Set the Location to
D:/R01TI/123456/SFML/. -
In the Application Settings dialog, check Console application, then click OK.
Step B: Link Include & Library Directories
-
Right-click your project name in the Solution Explorer panel and select Properties.
-
Set the Configuration dropdown (top-left corner) to All Configurations.
-
Navigate to Configuration Properties > VC++ Directories:
-
Include Directories: Add
$(SolutionDir)/../External Libraries/SFML/include -
Library Directories: Add
$(SolutionDir)/../External Libraries/SFML/lib
-
Step C: Add Library Dependencies (.lib)
-
In the same Properties window, navigate to Linker > Input.
-
Under Additional Dependencies, add the following SFML library files:
Plaintextsfml-audio-d.lib sfml-graphics-d.lib sfml-main-d.lib sfml-network-d.lib sfml-system-d.lib sfml-window-d.lib -
Click Apply, then click OK.
Step D: Copy Runtime Files (.dll)
To run the application without runtime errors, the executable needs access to SFML's Dynamic Link Libraries (.dll).
-
Open
D:/R01TI/123456/SFML/External Libraries/SFML/bin/. -
Copy all
.dllfiles located in thatbinfolder. -
Paste them into your root project directory (where
main.cppor.vcxprojresides).
3. Organizing the Asset Folder (Fonts & Images)
A common issue triggering the "Error loading file" error is an incorrect relative asset path.
Inside your project root folder (alongside main.cpp), create a dedicated asset folder structure:
Your_Project_Folder/
├── main.cpp
├── Project.vcxproj
├── sfml-graphics-2.dll
│
└── res/
    └── fonts/
        └── arial.ttf   <-- Place your font file here
Note: If you build and run the application directly from the generated
.exefile inside theDebugorReleasefolders, remember to copy the entireres/directory into that executable's folder as well.
4. Main Source Code (main.cpp)
Open main.cpp in your project, clear its contents, and paste the following clean, structured code:
#include <iostream>
#include <SFML/Graphics.hpp>

int main()
{
    // 1. Initialize Window
    sf::RenderWindow window(sf::VideoMode(640, 480), "Awesome Object - SFML");

    // 2. Load Font Asset
    sf::Font font;
    if (!font.loadFromFile("res/fonts/arial.ttf"))
    {
        std::cout << "[ERROR] Failed to load font file! Check the res/fonts/ path." << std::endl;
        system("pause");
        return EXIT_FAILURE;
    }

    // 3. Create Text Object
    sf::Text text;
    text.setFont(font);
    text.setString("SFML Graphics Demo");
    text.setCharacterSize(20);
    text.setFillColor(sf::Color::White);
    text.setPosition(20.0f, 20.0f);

    // 4. Create Circle Object
    sf::CircleShape circle(75.0f);
    circle.setPointCount(200); // Smooth edges
    circle.setPosition(sf::Vector2f(25.0f, 100.0f));
    circle.setFillColor(sf::Color(200, 200, 200));

    // 5. Create Rectangle Object
    sf::RectangleShape rectangle(sf::Vector2f(300.0f, 100.0f));
    rectangle.setPosition(sf::Vector2f(200.0f, 300.0f));
    rectangle.setFillColor(sf::Color(150, 150, 150));

    // 6. Create Square Object (using CircleShape with 4 points)
    sf::CircleShape square(100.0f);
    square.setPointCount(4);
    square.setPosition(sf::Vector2f(200.0f, 100.0f));
    square.setFillColor(sf::Color(200, 200, 200));

    // 7. Main Game / Render Loop
    while (window.isOpen())
    {
        sf::Event event;

        // Event Handling
        while (window.pollEvent(event))
        {
            if (event.type == sf::Event::Closed)
            {
                window.close();
            }
        }

        // Clear screen with a black background
        window.clear(sf::Color::Black);

        // Draw objects to the frame buffer
        window.draw(circle);
        window.draw(rectangle);
        window.draw(square);
        window.draw(text);

        // Display rendered frame to screen
        window.display();
    }

    return EXIT_SUCCESS;
}
Conclusion
Congratulations! You have successfully configured SFML in Visual Studio and launched your first graphics application. Understanding library linking and relative asset management will give you a solid foundation for building 2D games and graphical tools in C++.