

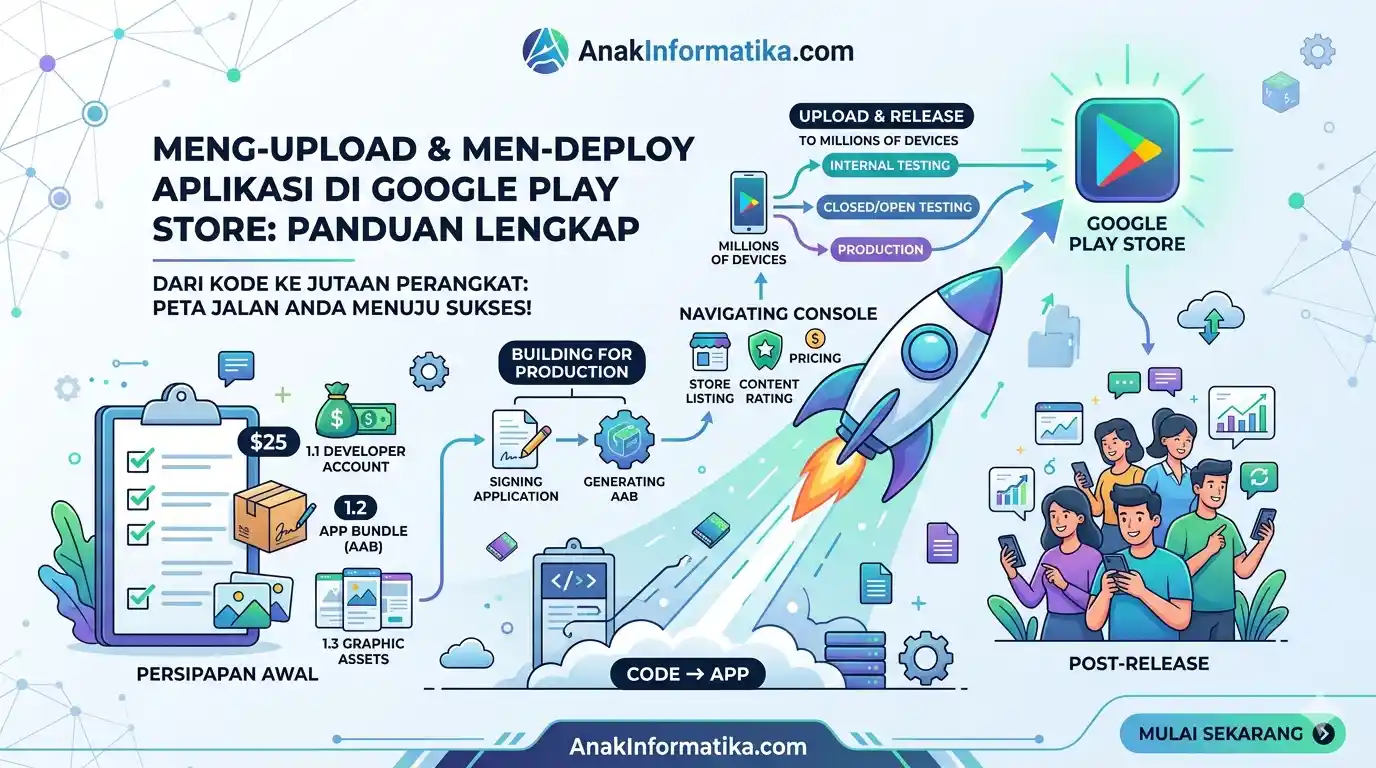
Building a mobile application is a challenging yet rewarding journey. However, the true excitement only comes when your app can be accessed by millions of users worldwide. To achieve this, the crucial next step is to upload and deploy your application to the largest distribution platform: the Google Play Store.
For developers, whether beginners or experienced, this process might seem complex with its various requirements and steps. Don't worry! This article, The Complete Guide: How to Upload and Deploy Mobile Apps to the Google Play Store (Latest), will guide you through each stage in a detailed, straightforward, and easy-to-understand manner. Prepare yourself to bring your dream app from the development screen into the hands of users!
1. Initial Preparation: The Foundation Before Launch
Before moving any further, there are several fundamental preparations you must complete. These are mandatory steps that will ensure your upload and deployment process runs smoothly.
1.1. Google Play Developer Account
The first and most important step is to have a Google Play Developer account. This is your gateway to publishing applications on the Play Store. Registration requires a one-time fee of $25 (or the equivalent in your local currency), payable via credit card. After payment, the verification process may take some time, so prepare this early.
1.2. Production-Ready Application
Ensure your application is in its final condition and ready for production. This means there are no more critical bugs, all features work as intended, and performance is optimized. The application must be digitally signed with your release key. Google highly recommends using the Android App Bundle (AAB) format instead of APK, as AAB allows Google Play to optimize the app size for each device, resulting in smaller downloads and faster installations.
1.3. Graphic Assets and App Information
How your app looks on the Play Store will heavily influence a user's decision to download it. Prepare the following assets with the correct resolutions and specifications:
-
App Icon: 512x512 pixels resolution, 32-bit PNG format.
-
Feature Graphic: 1024x500 pixels resolution, 24-bit JPG or PNG format. This serves as the main banner for your app on the Play Store.
-
Screenshots: Minimum of 2, maximum of 8. Resolution between 320x3840 pixels. It is highly recommended to showcase the main features of the app across various devices (phones, tablets).
-
Promotional Video (Optional): A link to a YouTube video demonstrating your application.
-
App Descriptions:
-
Short Description: Maximum 80 characters, a compelling summary of your app.
-
Full Description: Maximum 4000 characters, a comprehensive explanation of the app's features, benefits, and uniqueness.
-
1.4. Privacy Policy
If your application collects any user data (even just basic analytical data), you are required to provide a link to a valid privacy policy. This is a Google Play requirement and is also crucial for building user trust. The privacy policy must explain what data is collected, how it is used, and how users can control it.
2. Building the Application for Production: From Code to Ready-to-Upload Package
This process involves configuring your project to generate an app package that is secure and optimized for release. Remember, code snippets are excluded here, so the explanation remains conceptual.
2.1. Signing the App with a Release Key
Every Android app must be digitally signed with a developer certificate before it can be installed or updated. For a production release, you will use a release key, which is vital for your app's security and identity. This key must be stored securely; if lost, you will not be able to update your published application.
2.2. Generating the Android App Bundle (AAB)
Most modern development environments (such as Android Studio) provide built-in features to build a signed AAB. This process compiles all your code, resources, and assets into a single AAB file ready for upload to the Google Play Console. Make sure you manage your version numbers (version code and version name) correctly. Every app update must have a higher version code than the previous version.
3. Navigating Google Play Console: Your App's Control Center
Once all preparations are complete, it is time to log into the Google Play Console. This is the dashboard where you manage all aspects of your application.
3.1. Creating a New App
-
Log into your Google Play Console.
-
Click "Create app".
-
Fill in basic information such as the app name, default language, and whether the app is paid or free.
-
Accept the "Developer Program Policies" and "US Export Laws".
3.2. Filling in Store Listing Details
This section is the face of your app on the Play Store. Ensure all information is accurate and engaging.
-
App Details: App name, short description (80 characters), and full description (4000 characters). Use relevant keywords naturally.
-
Graphics: Upload your app icon, feature graphic, screenshots, and promotional video link if available.
-
App Category: Select the category and tags that best fit your app (e.g., Games, Productivity, Education).
-
Contact Info: Support email and website (optional).
3.3. Content Rating
This is a crucial section to determine the appropriate age group for your application. You will be required to fill out a questionnaire regarding your app's content (e.g., presence of violence, sexual content, or in-app purchases). Your answers will determine your app's age rating (e.g., "Everyone", "Teen", "Mature 17+"). Ensure you answer honestly to avoid rejection.
3.4. Price and Distribution
Determine whether your app will be free or paid. If it is paid, you can set the pricing. You must also select the countries where your app will be available. Make sure to review the distribution policies and restrictions that apply to your application.
3.5. Privacy Policy
Provide the link to your app's privacy policy here. This is mandatory if your app collects user data.
4. Uploading and Releasing the App: From Console to Millions of Devices
This is the moment you have been waiting for! Uploading the AAB file and initiating the release process.
4.1. Selecting Release Tracks
Google Play offers several release tracks that allow you to test your app before releasing it to the general public. This is a best practice to ensure quality.
-
Internal Testing: For your internal team. Extremely fast, can include up to 100 testers.
-
Closed Testing: For a small group of testers you select (alpha testers). This allows you to gather valuable feedback before a wider release.
-
Open Testing: For a larger audience of testers who can join via a link. Similar to a public beta.
-
Production: The track to release your app to all users on the Google Play Store.
Tip: It is highly recommended to start with a testing track (Internal/Closed/Open) first to catch bugs and gather feedback. Once you are confident, proceed to roll out to Production.
4.2. Uploading the Android App Bundle (AAB)
On your chosen release track (e.g., Production), you will find a section to upload your AAB file. Once uploaded, Google Play will analyze it. You will also be prompted to write release notes explaining the changes or new features in this version.
4.3. Google Play Review Process
After you submit your app for release, Google will review it to ensure compliance with their developer program policies. This process can take anywhere from a few hours to several days, depending on the app's complexity and the current review queue. Your app may be rejected if it violates specific policies. If rejected, you will receive details regarding the refusal so you can fix it and resubmit.
4.4. App Rollout
Once the review is approved, you can begin the rollout. You can choose a full rollout (released to all users at once) or a staged rollout (released to a specific percentage of users first, then gradually increased). Staged rollouts are incredibly useful for monitoring performance and potential bugs in a real-world environment before reaching your entire user base.
Comparison of Release Tracks in the Google Play Store
| Release Track | Main Purpose | Number of Testers | Release Speed | Visibility |
| Internal Testing | Quick verification by internal team. | Max 100 | Very fast (minutes) | Invited testers only |
| Closed Testing | Testing functionality and early user experience. | Hundreds to Thousands | Fast (a few hours) | Invited testers only |
| Open Testing | Public beta testing for a larger scale. | Unlimited | Moderate (hours/days) | Discoverable by the public looking for betas |
| Production | Releasing the app to all users on the Play Store. | Millions | Moderate (hours/days for review) | General public |
5. Post-Release: Continuous Maintenance and Development
Launching an app is not the end of the journey, but rather the beginning of an exciting new phase.
5.1. Performance Monitoring
The Google Play Console provides various metrics and performance reports, including installation counts, uninstalls, ratings, reviews, crash reports, and ANRs (Application Not Responding). Monitor these regularly to understand how your app is being received and to identify areas that need improvement.
5.2. Releasing App Updates
The mobile app world is constantly evolving. Plan regular updates to add new features, fix bugs, and boost performance. The process is similar to the initial release: create a new AAB with a higher version code, upload it to the production track, and undergo the review process.
5.3. Responding to User Reviews
Interacting with your users is essential. Respond to reviews—both positive and negative—professionally. This demonstrates that you care about your users and are willing to listen to their feedback. Your reviews and responses can significantly impact your app's rating and reputation.
5.4. Promotion and Marketing
Do not solely rely on the Play Store for discovery. Promote your app through social media, websites, blogs, and other marketing channels. The more people know about your app, the higher its download potential.
Conclusion
Uploading and deploying a mobile app to the Google Play Store is a significant achievement for any developer. While the process involves many steps, this guide gives you a clear roadmap. Remember to always comply with Google Play policies, prepare your assets meticulously, and utilize testing tracks to ensure the best possible version of your app reaches your users.
Your journey as a developer does not stop here. Keep innovating, listen to your users, and do not hesitate to roll out updates that make your app even better. Congratulations on releasing your app to the world, and wish you massive success!